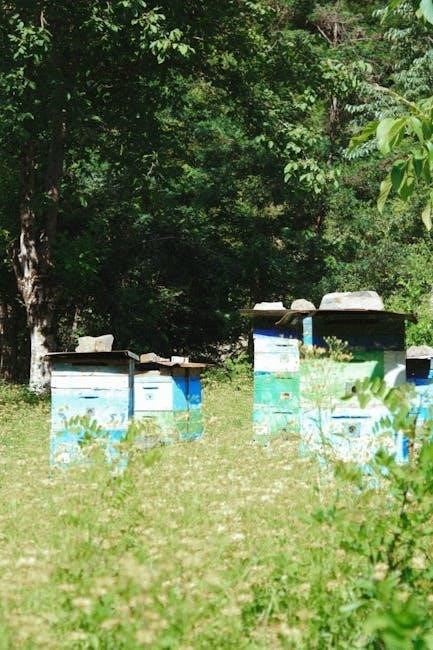
Overview of the Langstroth Beehive
The Langstroth beehive is a popular choice among beekeepers due to its movable frames and standardized design, allowing for easy management and scalability. Plans for a 10-frame hive can be found online, providing detailed blueprints for construction. Visit Beesource.com for free downloadable PDF guides.
The 10-frame Langstroth beehive is a widely used beekeeping system known for its practicality and efficiency. Designed by Rev. L.L. Langstroth, it features movable frames that allow beekeepers to inspect and manage colonies without disrupting the bees. The 10-frame design offers more space for honey production and brood development compared to 8-frame hives, making it ideal for both hobbyists and commercial beekeepers. Plans for building a 10-frame Langstroth hive are readily available online, including detailed PDF guides from sources like Beesource.com and Ontario Bee. These plans provide precise measurements and step-by-step instructions, ensuring a successful DIY project; The hive’s modular design allows for easy expansion, making it adaptable to varying colony needs and beekeeping goals.
Key Features and Benefits of the Langstroth Design
The Langstroth hive is renowned for its efficiency, scalability, and ease of use. Key features include movable frames, a spacious interior, and a modular design, allowing for easy expansion. The 10-frame configuration provides ample space for honey production and brood development, making it ideal for both hobbyists and commercial beekeepers. Benefits include durability, reduced hive maintenance, and adaptability to various beekeeping needs. The hive’s design promotes healthy bee colonies and simplifies tasks like harvesting honey. Its popularity stems from its versatility and cost-effectiveness, especially when built using readily available PDF plans from sources like Beesource.com.
Design and Construction Details
Constructing a 10-frame Langstroth beehive involves using 3/4 inch lumber, precise box dimensions, and frame notches. Detailed PDF plans are available online at Beesource.com.
Hive Components and Their Functions
A 10-frame Langstroth beehive consists of several essential components. The hive stand elevates the hive, protecting it from pests. The bottom board serves as the hive’s base, featuring an entrance for bees. Hive boxes (deep, medium, or shallow) house the frames, with the brood box for the queen and colony and honey supers for honey storage. Frames hold the honeycomb, while foundation guides bees in comb construction. The queen excluder prevents the queen from laying eggs in honey supers. Inner and outer covers protect the hive from elements. Detailed PDF plans outline these components at Beesource.com.
Materials and Tools Needed for Construction
Building a 10-frame Langstroth beehive requires specific materials and tools. Use high-quality, durable lumber, such as pine or cedar, for hive components. Essential tools include a table saw, drill press, hand saw, and sandpaper. Fasteners like nails and wood screws are necessary for assembly. Wax or foundation is needed for frames. Safety gear, including gloves and a dust mask, is recommended. Detailed PDF plans and measurements can be found at Beesource.com, ensuring accurate construction. Proper preparation and materials ensure a sturdy, functional hive for beekeeping success.
Step-by-Step Assembly Instructions
Assemble the hive by starting with the hive stand and base. Attach the frame rests by cutting notches in the supers, ensuring proper spacing for the frames. Construct the supers, attaching sides and bottoms securely. Install the inner cover with a ventilation hole and assemble the outer cover with a metal roof. Attach handles to the supers for easy lifting. Use wood glue and nails to ensure sturdy joints. Sand all surfaces for a smooth finish. Follow detailed PDF plans from sources like Beesource.com for precise measurements and assembly guidance.
10-Frame vs. 8-Frame Langstroth Beehives
The 10-frame hive has a shorter total height than the 8-frame, offering two additional frames per box for honey or brood space, making it more efficient for beekeepers.
Differences in Size and Capacity
The primary distinction between 10-frame and 8-frame Langstroth beehives lies in their size and capacity. A 10-frame hive is slightly narrower but accommodates two additional frames, providing more space for honey storage or brood production. This results in a higher yield and reduced need for extra boxes. Conversely, 8-frame hives are lighter and easier to handle, making them ideal for smaller apiaries or beekeepers with limited strength. The choice between the two often depends on the beekeeper’s needs, available space, and the desired hive management strategy.
Advantages of the 10-Frame Design
The 10-frame Langstroth beehive offers several advantages, including greater honey production and brood space due to the additional frames. It is more efficient for commercial beekeeping, as it allows for better resource management and often requires fewer hive boxes. The hive’s lower overall height compared to an 8-frame setup makes it easier to handle, especially for those with mobility concerns. Additionally, the standardized design ensures compatibility with widely available accessories and tools, making it a practical choice for beekeepers of all skill levels. Its popularity also means extensive online resources, including free PDF plans, are readily accessible for construction and customization.

Assembly and Installation
The 10-frame Langstroth beehive assembles efficiently with basic tools. Use reclaimed wood for a cost-effective build. Follow detailed PDF plans for precise measurements and step-by-step guidance. Visit Beesource.com for free downloadable guides.
Preparing the Hive for Bees
Preparing the hive involves assembling all components according to the 10-frame Langstroth beehive plans. Start by constructing the hive boxes, ensuring they are square and secure. Install the frames, attaching foundation if needed. Add the inner cover and outer cover, ensuring proper fit. For ventilation, cut a hole in the base and attach hardware cloth to prevent mites. Prime and paint the exterior for durability. Finally, place the hive in a suitable location, ensuring easy access for bees and beekeepers. Detailed instructions are available in the PDF plans from Beesource.com.
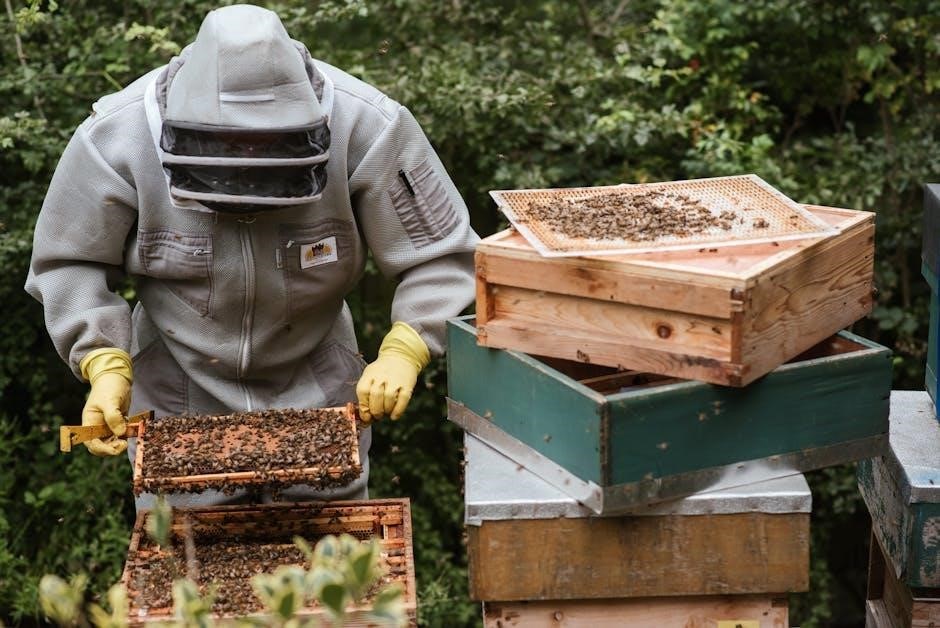
Installing Bees in the Hive
Installing bees in the hive begins with obtaining a nuc (nucleus colony) or a package of bees. Place the hive stand in a sunny, sheltered location, ensuring the hive is level. Open the hive and gently place the frames with the bees inside. If using a nuc, transfer the frames directly into the hive. For a package, remove the cork from the queen cage and hang it between two frames. Replace the inner cover and add a feeder filled with sugar water. Close the hive and allow the bees to settle. Wear protective clothing during this process. Detailed instructions are available in the PDF plans from Beesource.com.
Maintenance and Management
Regular hive checks ensure colony health. Clean frames, monitor for pests, and ensure proper ventilation. Detailed care schedules are outlined in the PDF plans from Beesource.com.
Regular Hive Maintenance Tips
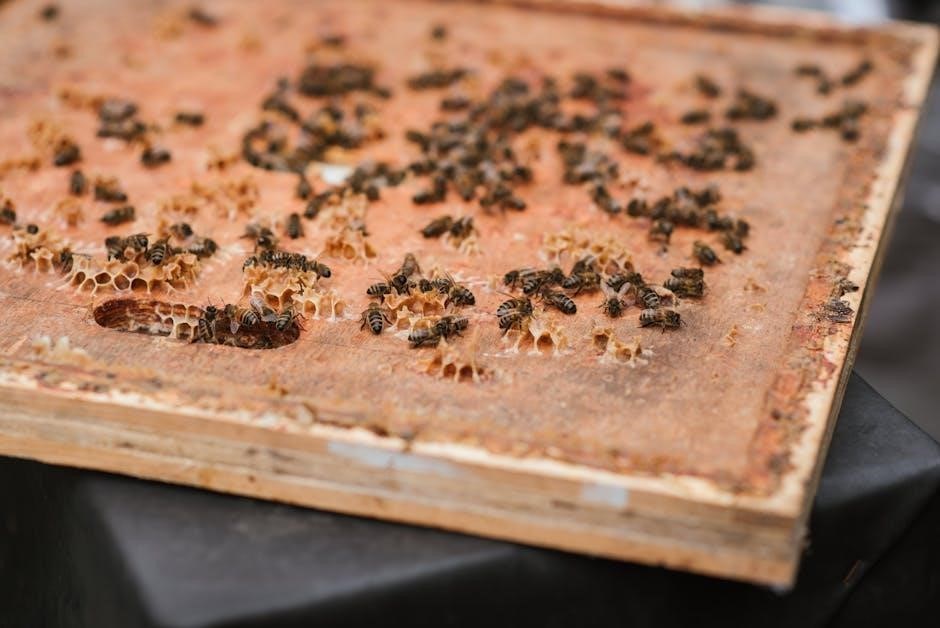
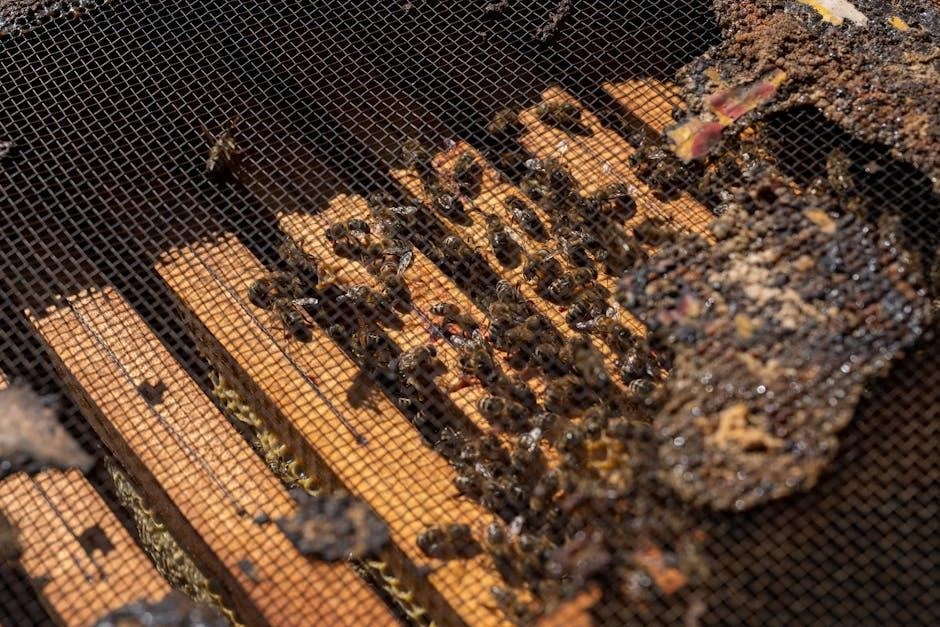
Regular hive maintenance is crucial for a healthy bee colony. Inspect frames for damage, clean them, and ensure proper alignment. Monitor for pests like mites and diseases, treating promptly if necessary. Check the queen’s performance and brood production. Ventilation is key; ensure airflow by adding moisture quilts and using hardware cloth on base boards. Schedule regular checks every 7-10 days during peak season. Downloadable PDF plans from Beesource.com provide detailed maintenance schedules and tips for optimal hive management.
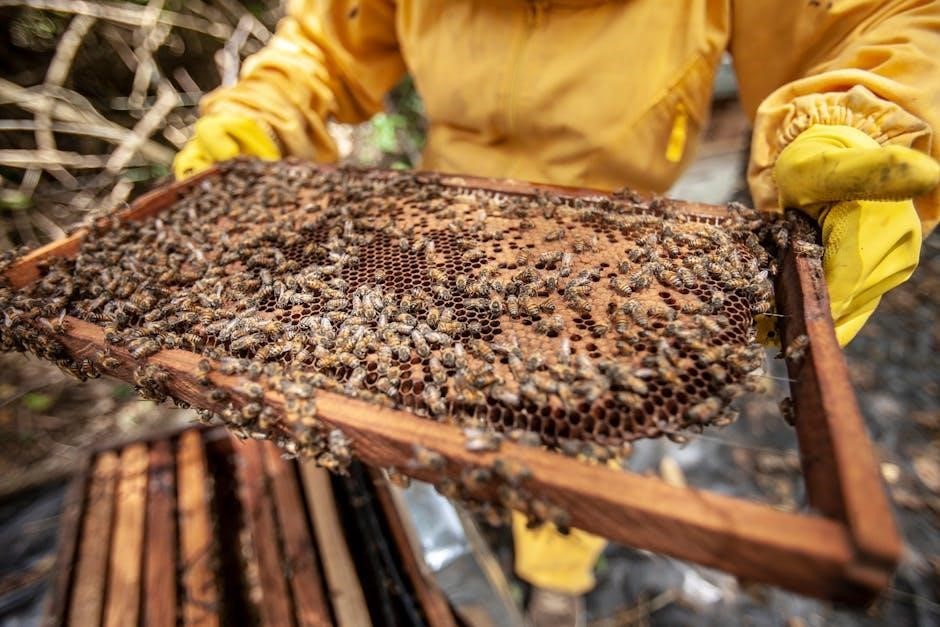
Monitoring and Managing the Bee Colony
Regular inspections are essential to monitor the health and productivity of the bee colony. Check for signs of a healthy colony, such as active brood production and adequate honey stores. Ensure the queen is laying eggs efficiently and that the hive is free from pests or diseases. Look for indicators like capped brood, pollen storage, and clean frames. Address issues like mite infestations or swarming promptly. Maintain proper hive ventilation and ensure frames are spaced correctly. Record observations to track colony progress. Use resources like the 10-frame Langstroth beehive plans PDF from Beesource.com for guidance on optimal colony management.

Accessories and Add-Ons
Enhance your beekeeping experience with optional accessories like frame grips, hive stands, and extractors. These add-ons improve hive functionality and efficiency, available in detailed PDF plans online.
Optional Features for Enhanced Beekeeping
Optional features like frame grips, hive stands, and extractors can enhance your beekeeping experience. Frame grips make handling frames easier, while hive stands improve hive accessibility. Extractors allow for efficient honey harvesting without damaging the comb. These add-ons, detailed in 10-frame Langstroth beehive plans PDF, provide customization options to suit your needs. Visit Beesource.com for comprehensive guides on integrating these features into your hive design, ensuring optimal functionality and ease of use for beekeepers of all levels.
Where to Find 10-Frame Langstroth Beehive Plans in PDF
10-frame Langstroth beehive plans in PDF are readily available online for beekeepers. Websites like Beesource.com and Ontario Bee offer free, detailed blueprints. These plans include precise measurements, material lists, and step-by-step instructions for constructing your own hive. Additionally, platforms like Instructables.com provide user-friendly guides and tutorials. Whether you’re a novice or experienced beekeeper, these resources ensure you can build a functional and efficient 10-frame Langstroth hive with ease. Download the PDF plans today and start your beekeeping journey!