
The 2004-2007 Lexus ES330 wiring diagram is essential for understanding the electrical system, particularly the left kick panel, which houses critical components for vehicle functionality and safety․
Overview of the Lexus ES330 Electrical System
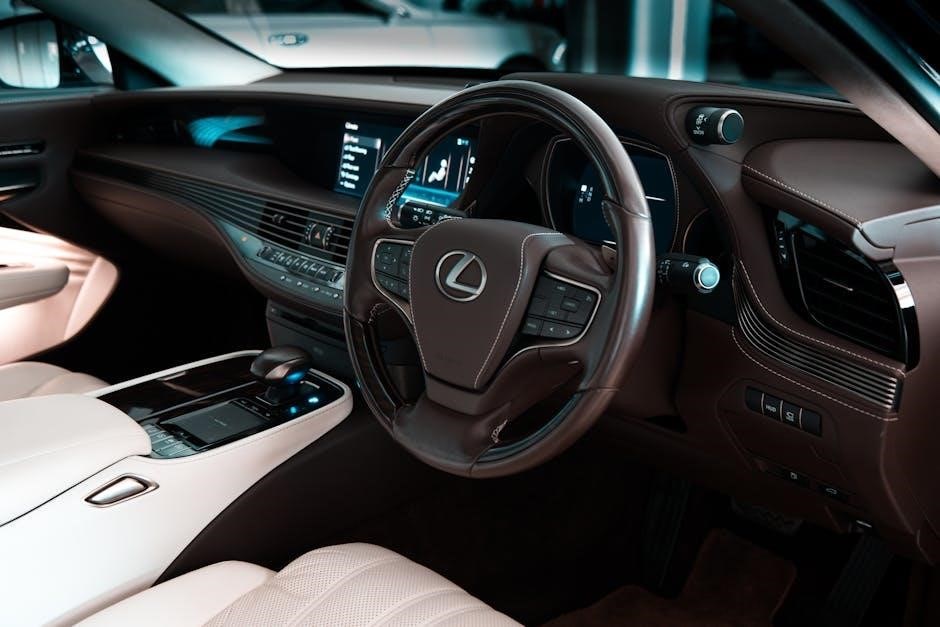
The Lexus ES330 electrical system is sophisticated, integrating various components to ensure seamless vehicle operation․ The left kick panel plays a crucial role, housing essential wiring and connectors that power features like lighting, infotainment, and safety systems․ Understanding this system requires detailed wiring diagrams to identify circuits, connectors, and components accurately․ Proper diagnostics and repairs rely on this information to maintain functionality and safety․
Importance of the Left Kick Panel Wiring Diagram
The left kick panel wiring diagram is vital for diagnosing and repairing electrical issues in the Lexus ES330․ It provides a detailed layout of wires, connectors, and components, ensuring accurate troubleshooting․ This diagram helps identify power sources, ground locations, and circuit connections, which are essential for resolving faults in features like lighting, infotainment, and safety systems․ Accurate wiring information prevents damage and ensures proper functionality, making it indispensable for technicians and DIY enthusiasts alike․
Locating the Left Kick Panel in the Lexus ES330
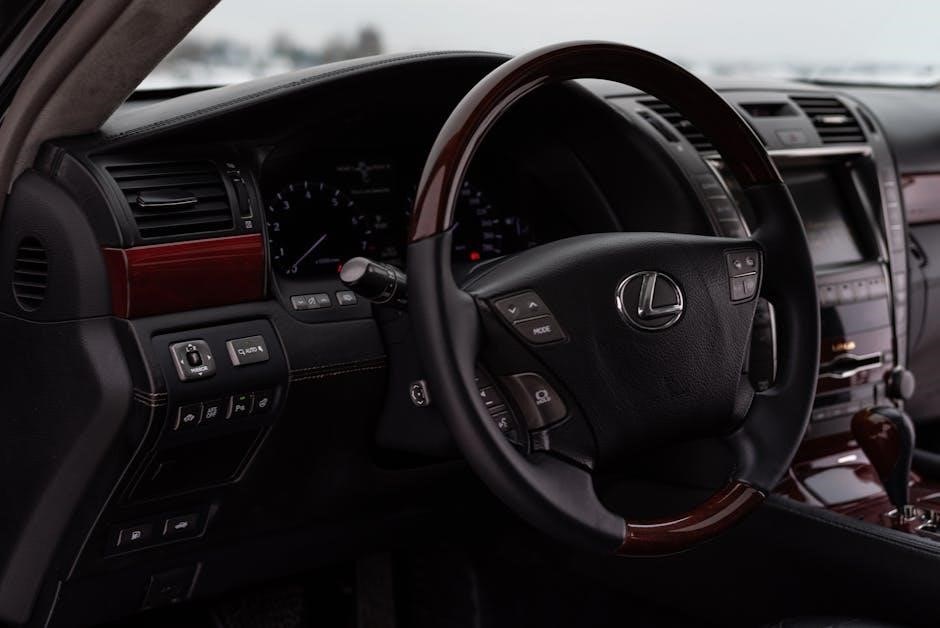
The left kick panel is situated on the driver’s side floor, near the footwell, providing easy access to essential electrical components and wiring connections․
Physical Location and Accessibility
The left kick panel in the Lexus ES330 is located on the driver’s side floor, just behind the trim near the footwell․ It is positioned close to the door sill and is easily accessible for repairs or inspections․ The panel is secured with screws and clips, making it straightforward to remove for access to the wiring and electrical components behind it․ Its location allows for convenient servicing without requiring extensive disassembly of the vehicle’s interior․
Tools Required for Removal
To remove the left kick panel, essential tools include a Phillips screwdriver, flathead screwdriver, and trim removal tools to prevent damage․ Pliers may be needed for wiring connectors, while a Torx driver could be necessary for specific fasteners․ A flashlight can aid visibility in tight spaces, and gloves provide protection․ Ensure all tools are readily available to streamline the process and avoid delays․ This preparation helps in safely accessing the wiring components behind the panel for repairs or inspections․
Understanding the Wiring Diagram Components
The wiring diagram provides a visual representation of the electrical system, detailing circuits, components, and connections․ It aids in diagnosing issues, planning repairs, and ensuring proper installations․ Understanding the symbols and layouts is crucial for identifying specific wires and components, making it an indispensable tool for technicians and DIY enthusiasts working on the Lexus ES330’s electrical system․
Key Electrical Components in the Left Kick Panel
The left kick panel in the 2004-2007 Lexus ES330 contains essential electrical components such as fuses, relays, and connectors․ These components are crucial for powering systems like the air conditioning, audio, and lighting․ The panel also houses wiring harnesses that connect to various control modules, ensuring proper communication between electrical systems․ Understanding these components is vital for diagnosing and repairing electrical issues effectively․
Color Coding and Wire Identification
Understanding the color coding of wires in the left kick panel is crucial for accurate repairs․ Typically, red wires indicate power sources, while black wires are grounds․ Yellow wires often signify signal or control circuits, and orange wires may represent ignition-related components․ Blue wires usually denote accessory functions like Bluetooth or audio systems․ Always refer to the official wiring diagram for precise identification, as variations may occur․ Using a multimeter can help verify live wires, ensuring safety and correctness during repairs․

Safety Precautions When Working with Wiring
Always disconnect the battery before starting work to prevent electrical shocks or short circuits․ Use insulated tools to avoid accidental contact with live wires, ensuring personal and vehicle safety․
Disconnecting the Battery and Safety Measures
Disconnecting the battery is the first step to ensure safety when working with wiring․ Locate the battery, typically found in the engine compartment, and remove the negative terminal to prevent electrical shocks․ Use insulated tools to handle wires and components, reducing the risk of short circuits․ Always wear protective gear, such as gloves and safety glasses, to protect against potential hazards․ Following proper procedures minimizes risks and ensures a safe working environment for repairs or modifications to the Lexus ES330’s electrical system․
Avoiding Common Mistakes in Wiring Repairs
When repairing the wiring in your 2004-2007 Lexus ES330, it’s crucial to avoid common mistakes․ Incorrect wire identification can lead to system malfunctions․ Always refer to the wiring diagram for accurate connections․ Overlooking proper insulation and secure connections can cause short circuits and electrical fires․ Ensure all tools are insulated to prevent accidental shorts․ Additionally, never skip disconnecting the battery to avoid unexpected power surges․ Carefully following the diagram and using the right materials helps prevent errors and ensures reliable electrical performance․
Tools and Materials Needed for Wiring Repairs
Essential tools include multimeters, wire strippers, pliers, and screwdrivers․ Materials like electrical tape, connectors, and replacement wires are crucial for safe and effective wiring repairs․
Essential Tools for Working with Automotive Wiring
A multimeter is crucial for diagnosing electrical issues․ Screwdrivers, pliers, and wire strippers are necessary for handling wires․ A wiring diagram PDF is indispensable for accurate repairs․ Safety gear like gloves and goggles protects during work․ Use high-quality tools to avoid damaging delicate components․ Electrical tape and connectors ensure secure wire connections․ Always keep a well-organized toolkit to streamline the repair process and maintain efficiency while working on the 2004-2007 Lexus ES330 wiring system․
Recommended Materials for Repairs
For reliable repairs, use high-quality wiring harnesses and connectors․ Electrical tape and heat shrink tubing are essential for insulating wires․ OEM or equivalent parts ensure compatibility․ A wiring diagram PDF provides clarity․ Adhesive-lined connectors prevent corrosion․ Use dielectric grease for terminal protection․ Replace faulty fuses or relays with genuine parts․ Proper materials ensure long-term reliability and safety in the 2004-2007 Lexus ES330 electrical system, especially for the left kick panel wiring․

Accessing the Left Kick Panel Wiring Diagram PDF
Access the left kick panel wiring diagram PDF through official Lexus service manuals or reputable online platforms, ensuring accuracy and reliability for your repairs․
Official Lexus Service Manuals and Resources
Official Lexus service manuals provide detailed wiring diagrams for the 2004-2007 ES330, including the left kick panel․ These resources are available through authorized dealerships or Lexus’s official website, ensuring accuracy and reliability for repairs․ They often include comprehensive guides, diagnostic troubleshooting, and component locations, making them indispensable for technicians and DIY enthusiasts․ Additionally, some online forums and automotive repair platforms offer downloadable PDF versions of these manuals, verified for authenticity and updated regularly to reflect the latest specifications and corrections from Lexus․
Online Platforms for Wiring Diagrams
Several online platforms offer wiring diagrams for the 2004-2007 Lexus ES330, including the left kick panel․ Websites like AutoZone, ALLDATA, and RepairPal provide detailed diagrams for specific models․ Additionally, forums such as Lexus Forums or Reddit communities often share downloadable PDFs․ These platforms are convenient for DIY enthusiasts and technicians, offering accessible resources for repairs․ However, ensure the diagrams are verified for accuracy to avoid errors during electrical work․
Step-by-Step Installation Guide
Install electrical components in the left kick panel by following the wiring diagram, ensuring proper connections and functionality․ Always refer to official Lexus resources for accuracy․
Removing the Left Kick Panel
To access the left kick panel, start by removing the screws securing it․ Gently pry the panel away from the dashboard, taking care not to damage the electrical connectors․ Once removed, you’ll have clear access to the wiring components․ Ensure all tools are ready and refer to the wiring diagram for precise guidance to avoid any damage or disconnection of critical wires during the process․
Installing or Replacing Electrical Components
When installing or replacing electrical components in the left kick panel, refer to the wiring diagram for precise connections․ Ensure all components are securely fastened to avoid loose connections․ Handle wiring connectors carefully to prevent damage․ After installation, test the system to confirm functionality․ If unsure, consult a professional to ensure proper installation and avoid potential electrical issues․ Always follow the diagram’s guidance for accurate and safe repairs․
Common Issues and Troubleshooting
Common issues include blown fuses, faulty connections, or damaged wires in the left kick panel․ Troubleshooting involves checking fuses, inspecting wiring, and using a multimeter for diagnostics․
Diagnosing Electrical Problems in the Left Kick Panel
Diagnosing electrical issues in the left kick panel involves identifying common faults like blown fuses, corroded connectors, or damaged wiring; Start by consulting the wiring diagram to trace circuits and locate potential problem areas․ Use a multimeter to test for power and ground connections; Inspect the wiring harness for signs of wear or damage․ Check for loose or faulty connections in components like the fuse box or relays․ Systematically isolating the issue ensures accurate repairs and prevents further complications․
Fixing Faulty Wiring Connections
Fixing faulty wiring connections in the left kick panel involves identifying and repairing damaged wires or connectors․ Start by disconnecting the battery to ensure safety․ Use the wiring diagram to locate the problematic area․ Inspect wires for signs of wear, corrosion, or breaks․ Repair or replace damaged sections, ensuring proper soldering techniques․ Tighten loose connections and verify color coding for accurate reconnections․ After repairs, reconnect the battery and test the electrical system to confirm functionality․ If issues persist, consult the wiring diagram or seek professional assistance․
After completing repairs, ensure all wiring connections are secure and verify functionality․ Double-check the wiring diagram for accuracy and test all electrical components to confirm proper operation․
Verifying the Wiring Diagram Accuracy
Ensuring the wiring diagram’s accuracy is crucial for safe and effective repairs․ Cross-reference the diagram with official Lexus manuals or trusted sources to confirm details․ Check for any updates or revisions that may apply to your specific ES330 model․ Use diagnostic tools to verify connections and functionality․ If unsure, consult professional resources or forums for confirmation․ Accuracy prevents malfunctions and ensures proper electrical system operation, enhancing both safety and performance․
Ensuring Proper Functionality After Repairs
After completing repairs, test all electrical systems connected to the left kick panel to ensure proper functionality․ Check lighting, power windows, and any installed accessories․ Use the wiring diagram to verify each connection․ If issues persist, review the repair steps or consult the diagram again․ Proper functionality ensures safety, convenience, and optimal performance of your Lexus ES330․ Regular checks can prevent future electrical problems and maintain reliability․