Safety Precautions
Always turn off the electricity supply before installation or maintenance. Ensure the fan is installed by a licensed electrician to avoid hazards and warranty voidance. Never insert objects between rotating blades‚ and keep children away from the fan. Use only genuine parts to maintain safety and performance. Avoid overloading or modifying the fan‚ as this can cause malfunction or injury. Regularly inspect for loose connections or damage to ensure safe operation.
1.1. Pre-Installation Checks
Before starting‚ ensure the power supply is turned off and verify all components are included. Check the ceiling for structural integrity and ensure proper clearance from obstacles. Confirm the fan’s compatibility with your ceiling type and existing fixtures. Inspect for any damage or defects in the packaging or parts. Plan the installation area to avoid interference with other devices or wiring.
1.2. General Safety Guidelines
Always disconnect the power supply before handling the fan. Ensure the installation is performed by a licensed electrician to prevent accidents. Keep children and pets away during installation and operation. Avoid touching electrical components or rotating parts. Use only genuine parts to maintain safety standards. Ensure proper grounding of the fan to prevent electrical shocks. Regularly inspect for loose connections or wear to guarantee safe operation.
Installation Process
Assemble the fan on the ground‚ attach the base plate‚ downrod‚ and motor housing. Mount the fan to the ceiling‚ connect wiring‚ and secure all parts tightly. Test operation after installation to ensure proper function and safety.
2.1. Tools and Materials Needed
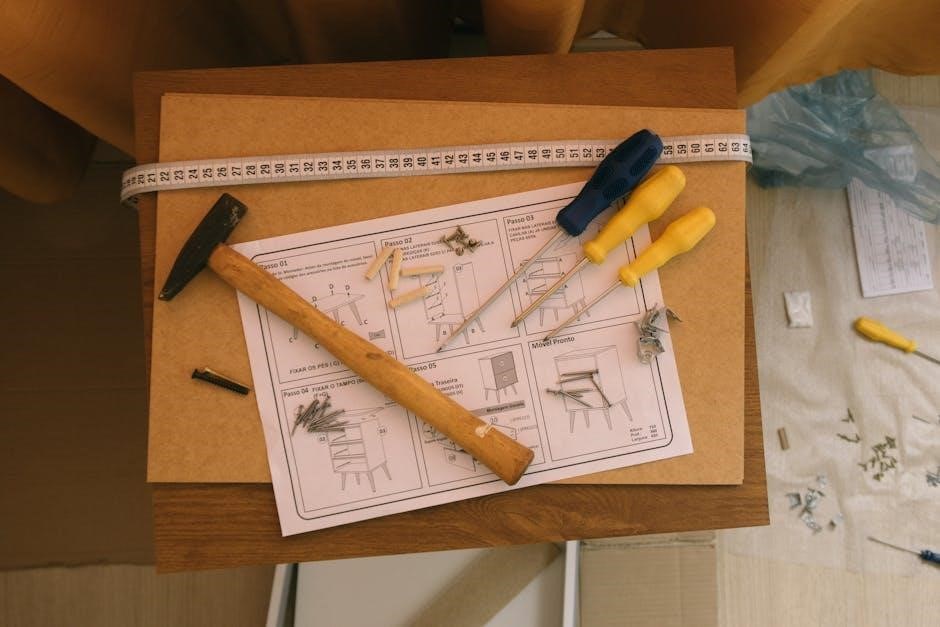
To install your ceiling fan‚ you will need a screwdriver‚ pliers‚ a voltage tester‚ and a ladder. Additional materials include a mounting bracket‚ screws‚ and a downrod. Ensure all parts from the box are included and undamaged. Refer to the manual for specific tools required for your model. Gather all items before starting to ensure a smooth installation process.
2.2. Step-by-Step Installation Guide
Begin by assembling the fan on the ground to simplify installation. Install the mounting bracket securely to the ceiling. Attach the fan motor to the bracket‚ ensuring all screws are tightened. Connect the wires carefully‚ matching black to black and white to white. Secure the fan blades to the motor and tighten all connections. Finally‚ test the fan to ensure proper operation. Refer to the manual for specific details.
Operating the Ceiling Fan
Operate your ceiling fan using the remote or wall control. Adjust speed settings for optimal airflow. For models with lights‚ dim or brighten as needed. Ensure energy efficiency by reversing direction in winter. Always refer to the manual for specific control functions.
3.1. Fan Speed Control
Your ceiling fan typically offers multiple speed settings‚ allowing you to adjust airflow to suit your needs. Use the remote control or wall switch to increase or decrease speed. Most fans feature 3-6 speed settings. Ensure proper installation of controls to avoid malfunction. Refer to your manual for specific instructions‚ as functionality may vary by model. Adjusting speed optimizes energy use and comfort year-round.
3.2. Light Kit Operation (if applicable)
The light kit‚ if included‚ can be operated using the remote control or wall switch. Turn the light on/off and adjust brightness using designated buttons. Some models feature a vacation mode‚ turning the light on periodically for security. Ensure bulbs are compatible with the fixture and dimmable if using a dimmer switch. Replace bulbs with energy-efficient options for optimal performance and longevity.
Maintenance and Cleaning
Regularly clean the fan blades and housing with a soft cloth to prevent dust buildup. Disconnect power before cleaning. Check for loose screws and tighten them. Lubricate moving parts as needed for smooth operation and to reduce noise. Ensure all components are secure to maintain balance and efficiency.
4.1. Cleaning the Fan Blades and Housing
Turn off the power supply before cleaning. Use a soft‚ dry cloth to wipe dust from the fan blades and housing. For stubborn dust‚ a slightly damp cloth may be used‚ but avoid moisture on electrical parts. Clean each blade individually to ensure thoroughness. Regular cleaning‚ especially during heavy use‚ prevents dust buildup and maintains efficiency. Avoid using harsh chemicals or abrasive materials that could damage the finish.
4.2. Lubrication and Balancing
Lubrication is typically not required for ceiling fans‚ but check the manual for specific recommendations. For balancing‚ use the provided balancing kit during installation to prevent wobbling. Ensure all screws are tightened securely and blades are evenly weighted. If wobbling occurs‚ adjust the balancing weights or check for loose connections. Proper balancing ensures smooth operation and reduces noise. Regularly inspect for wear or misalignment.
Troubleshooting Common Issues
Check power connections if the fan doesn’t turn on. Inspect switches and circuits for issues. For excessive noise or wobbling‚ ensure proper installation and balancing. Refer to the manual for specific troubleshooting steps.
5.1. Fan Not Turning On
If the ceiling fan fails to turn on‚ first ensure the power supply is connected and the wall switch is in the correct position. Verify that the circuit breaker hasn’t tripped or a fuse hasn’t blown. Check the remote control for battery life if applicable. Inspect the connections between the fan and the electrical wiring to ensure they are secure. If issues persist‚ consult a licensed electrician to avoid further complications and ensure safety.
5.2. Excessive Noise or Wobbling
If the ceiling fan produces excessive noise or wobbles‚ check for loose screws on the blades‚ motor housing‚ or mounting bracket. Ensure all connections are secure and balanced. Use the provided balancing kit to adjust the fan blades for even weight distribution. If noise persists‚ inspect for damaged or warped blades and replace them if necessary. Turn off the power before performing any inspections or repairs for safety.
Accessories and Replacement Parts
Ensure compatibility with remote controls and wall switches. Genuine replacement blades and light kits are recommended. Use manufacturer-supplied parts to maintain warranty validity and optimal performance.
6.1. Remote Control and Wall Switch Compatibility
Ensure your ceiling fan is compatible with remote controls and wall switches before installation. Refer to the manual for compatible models. Always use manufacturer-recommended accessories to maintain functionality. Pair the remote control with the fan by following the pairing instructions in the manual. If issues arise‚ consult the troubleshooting section or contact customer support for assistance; Proper compatibility ensures smooth operation and optimal performance of your ceiling fan.
6.2. Replacement Blades and Light Kits
Replacement blades and light kits are available from the manufacturer or authorized retailers. Ensure compatibility with your ceiling fan model for proper fitment and function. Refer to your manual for specific part numbers or contact customer support. Genuine parts guarantee safety and warranty validity. Follow installation instructions carefully to avoid damage or performance issues. Always disconnect power before replacing any components.
Energy Efficiency and Usage Tips
Optimize energy consumption by using your ceiling fan with AC‚ as it circulates air‚ reducing the need for extreme cooling. In winter‚ run the fan in reverse to circulate warm air‚ lowering heating costs. Use eco-friendly settings and ensure proper fan speed for energy efficiency. Regular maintenance‚ like cleaning blades‚ enhances airflow and reduces energy use.
To optimize energy consumption‚ use your ceiling fan in conjunction with your AC by circulating air to reduce cooling needs. In winter‚ reverse the fan to circulate warm air‚ cutting heating costs. Maintain a consistent temperature and adjust fan speeds accordingly. Clean fan blades regularly to ensure efficient airflow‚ lowering energy usage and extending motor life. Proper usage enhances efficiency and savings. Using ceiling fans with AC enhances cooling efficiency by circulating air‚ allowing you to raise the thermostat. Run fans counterclockwise in summer to push cool air down and clockwise in winter to circulate warm air. This reduces AC workload‚ lowering energy bills. Clean fan blades regularly for optimal airflow. The Department of Energy recommends combining fans with AC for better comfort and savings. The warranty covers manufacturing defects for a specified duration‚ typically 1-5 years. Validity requires proper installation by a licensed electrician and adherence to manual instructions; Modifications void coverage. The warranty covers manufacturing defects in materials and workmanship for a specified period‚ typically ranging from 1 to 5 years. Coverage includes replacement of faulty parts‚ excluding wear-and-tear items. The warranty period begins from the date of purchase‚ provided the fan is installed correctly by a licensed electrician. Proper registration may extend coverage benefits. Terms vary by manufacturer. The warranty is valid only if the ceiling fan is installed by a licensed electrician and operated according to the manual. Use of genuine parts and adherence to maintenance guidelines are mandatory. Unauthorized modifications or improper installation void the warranty. Registration may be required for extended coverage. Ensure all safety precautions are followed to maintain warranty eligibility. Ceiling fans offer fan mode for standard operation and reverse mode for circulating air during different seasons. Timer and vacation modes enhance energy efficiency and convenience. Ceiling fans operate in two primary modes: Fan Mode and Reverse Fan Mode. Fan Mode cools by creating a breeze‚ while Reverse Mode circulates air without cooling. To switch modes‚ use the switch on the motor assembly. Fan Mode is ideal for summer‚ and Reverse Mode helps distribute heat in winter. This feature optimizes energy efficiency and comfort year-round. Use it effectively for better airflow control. The timer function allows the ceiling fan to operate for 1h‚ 4h‚ or 8h before automatically turning off. Vacation mode activates the light kit periodically‚ simulating occupancy. Both features enhance convenience and energy efficiency. Use the timer for consistent airflow and vacation mode to maintain home security while away. These modes are easily controlled via the remote or wall switch for seamless operation. Smart ceiling fans feature app control‚ voice commands‚ and adaptive speeds for convenience and energy efficiency. These innovations optimize performance and reduce energy use effectively. Smart ceiling fans offer advanced controls via smartphone apps or voice assistants‚ enabling remote operation. Features include scheduling‚ speed adjustments‚ and energy monitoring. These systems integrate seamlessly with smart home devices‚ enhancing convenience and efficiency. Ensure compatibility with your fan model and follow manual instructions for proper setup and operation. Manual Auto Mode allows switching between manual and automatic operation. Press and hold the MANUAL AUTO button for 3 seconds to activate. This mode offers flexibility‚ enabling manual adjustments or automatic settings based on preferences. It ensures efficient operation and convenience‚ adapting to user needs seamlessly. Refer to the manual for specific activation steps and compatibility details. Proper installation‚ maintenance‚ and operation ensure optimal performance and energy efficiency. Always refer to this manual for guidance. Enjoy your ceiling fan’s benefits for years to come! For optimal performance‚ clean fan blades regularly to maintain airflow and balance. Use genuine parts to ensure safety and efficiency. Adjust fan direction seasonally for better heating and cooling. Refer to the manual for troubleshooting and maintenance tips. Follow manufacturer guidelines to maximize energy efficiency and extend the fan’s lifespan‚ ensuring a comfortable environment year-round. Adhering to the manual ensures safe installation‚ proper operation‚ and optimal performance. It helps avoid potential hazards‚ voiding the warranty‚ and ensures energy efficiency. The manual provides specific guidelines for troubleshooting and maintenance. By following the instructions‚ you can prevent malfunctions and extend the lifespan of your ceiling fan. Always refer to the manual for accurate and reliable operation.7.1. Optimizing Energy Consumption
7.2. Using Ceiling Fans with AC

Warranty Information
8.1. Coverage and Duration
8.2. Conditions for Warranty Validity

Ceiling Fan Modes
9.1. Fan Mode vs. Reverse Fan Mode
9.2. Timer and Vacation Mode

Advanced Features
10.1. Smart Ceiling Fan Controls
10.2. Manual Auto Mode

11.1. Final Tips for Optimal Performance

11.2. Importance of Following the Manual