
Welcome to the Dynex TV instruction manual! This guide helps you explore your TV’s features, from setup to advanced settings, ensuring optimal performance and viewing experience.
1.1 Overview of Dynex TVs
Dynex TVs offer a range of models, such as the DX-32L220A12, known for vibrant colors, sharp details, and enhanced contrast; These TVs are ideal for watching TV shows, movies, and gaming. They come with essential accessories and support various connections like HDMI, component video, and antenna cables. Models like DX-32L151A11 and DX-37L130A11 provide user-friendly interfaces and customization options for picture and sound settings, ensuring a superior viewing experience.
1.2 Importance of the Instruction Manual
The Dynex TV instruction manual is crucial for safe installation, optimal setup, and troubleshooting. It provides detailed safety precautions, step-by-step installation guides, and troubleshooting tips. The manual also covers warranty information, customer support contacts, and maintenance tips, ensuring users can fully utilize their TV’s features and resolve issues efficiently. Regular updates and clear instructions help maximize viewing satisfaction and longevity of the device.
Safety Precautions
Ensure your Dynex TV is installed securely to prevent tip-overs. Keep cords out of reach of children and avoid placing heavy objects on the TV. Always follow safety guidelines to protect your family and device.
2.1 General Safety Tips
Place your Dynex TV on a stable stand rated for its weight. Keep it away from water and ensure proper ventilation. Avoid exposing the TV to extreme heat or direct sunlight. Never block ventilation openings and always use the original power cord. Ensure the TV is grounded correctly using a three-prong plug to prevent electric shock. Regularly inspect cords for damage.
2.2 Child Safety Guidelines
Secure your Dynex TV on a stable stand or wall mount rated for its weight to prevent tip-overs. Keep cords out of children’s reach to avoid accidental pulling. Never place the TV on unstable furniture like dressers or bookcases, as this can lead to accidents. Supervise children to ensure they do not climb or play near the TV, reducing the risk of injury or damage from improper handling.
2.3 Electrical Safety Instructions
Always follow electrical safety guidelines to prevent hazards. Place the TV on a stable surface away from water and heat sources. Use the provided power cord and ensure it is not damaged or pinched. Avoid blocking ventilation openings and unplug the TV during lightning storms or extended periods of inactivity. Use a grounding-type plug for proper electrical connection to prevent shock risks.
Installation and Setup
Start by carefully unpacking your Dynex TV and accessories. Follow the stand installation guide or opt for wall mounting using a compatible bracket. Choose a stable, ventilated location for optimal performance.
3.1 Unpacking and Accessories
Carefully unpack your Dynex TV and accessories, ensuring all components are included. The box typically contains the TV, stand, remote control, batteries, and necessary cables. Check for any damage or missing items. Familiarize yourself with the remote and its functions. Ensure all accessories, like HDMI cables, are ready for installation. Properly arrange items to avoid damage during setup.
3.2 Stand Installation
Carefully unpack the stand and ensure all parts are included. Place the TV face down on a soft, flat surface. Attach the stand to the base using the provided screws, ensuring it is securely tightened. Align the stand with the TV’s mounting points and tighten firmly. Ensure the stand is stable to prevent tipping. Have someone assist for safety, and verify the TV is level before placing it upright.
3.3 Wall Mounting Instructions
For wall mounting, choose a mount rated for your TV’s weight and follow the manufacturer’s instructions. Ensure the wall is sturdy and suitable for the mount type. Attach the mounting bracket to the TV, align it with the wall mount, and secure firmly. Use a spirit level to ensure the TV is straight. Have a second person assist for safety and to prevent accidents. Double-check all connections and tighten screws properly before placing the TV on the mount. Ensure power cables are neatly routed and accessible. If unsure, consider consulting a professional installer for a safe and secure setup.
Connecting Devices
Connect external devices like HDMI, component video, or audio systems to enhance your viewing experience. Follow the manual’s guidelines for proper cable connections and configurations.
4.1 External Devices Connection
Connect HDMI, component video, or audio devices to enhance your viewing experience. Use the correct ports for each device, ensuring proper cable connections. The TV supports HDMI ARC for soundbars and optical audio outputs. Connect devices like Blu-ray players or gaming consoles to HDMI ports, and older devices via component video. Use color-coded cables for component connections. Ensure the TV recognizes each device by selecting the correct input and adjusting settings as needed.
4;2 Audio System Setup
Connect your Dynex TV to external audio systems like soundbars or home theaters using HDMI ARC or optical audio output. Ensure the external device is compatible and properly connected. Select the correct input on your TV and adjust settings like digital audio output. Troubleshoot by checking connections and ensuring the TV recognizes the audio system. This setup enhances sound quality for an immersive experience.
Initial Setup
Connect your Dynex TV to power, turn it on, and follow the on-screen instructions. Complete the initial setup by selecting your language, time zone, and input preferences for a smooth experience.
5.1 First-Time Power-On
When you power on your Dynex TV for the first time, follow the on-screen setup guide. Select your language, time zone, and input preferences. Connect to Wi-Fi if prompted, and allow the TV to update its software. Ensure all cables are securely connected. Once setup is complete, your TV is ready for use. Refer to the manual for detailed instructions.
5.2 Basic Settings Configuration
Navigate to the TV’s menu to configure basic settings. Adjust picture brightness, contrast, and color balance for optimal viewing. Set the sound mode to suit your preference. Configure the menu language, time zone, and clock settings. Enable or disable closed captions and parental controls as needed. Refer to the manual for detailed steps on customizing these settings to enhance your viewing experience.
Picture and Sound Settings
Adjust picture quality by modifying brightness, contrast, and color balance. Customize sound modes to enhance audio clarity. Explore preset settings for optimal viewing and listening experiences.
6.1 Adjusting Picture Quality
Adjusting picture quality on your Dynex TV allows you to customize your viewing experience. Use the on-screen menu to modify settings like brightness, contrast, and color balance. Select from preset picture modes such as Standard, Movie, or Sports for optimized display. Fine-tune sharpness and color temperature to enhance clarity and vibrancy. These adjustments ensure your TV delivers the best possible image quality for your preferences.
6.2 Customizing Sound Settings
Customize your Dynex TV’s sound settings for an enhanced listening experience. Use the on-screen menu to adjust equalizer settings, bass, treble, and balance. Select from preset audio modes like Standard, Movie, Music, or Sports to optimize sound quality. You can also enable optional enhancements like surround sound or dialogue clarity. Navigate to the Sound menu, explore options, and save your preferences for a personalized audio experience.
Channel Management
Efficiently manage your channels with auto-scan for available signals, organize favorites, and hide unwanted channels. Customize your viewing experience by selecting digital or analog signals for optimal entertainment.
7.1 Channel Scanning and Selection
Channel scanning allows your Dynex TV to automatically search and store available channels. Press the menu button, select channel setup, and choose auto-program to begin. The TV will scan and save all accessible channels, ensuring a seamless viewing experience. This feature works for both digital and analog signals, organizing channels in a logical order for easy navigation.
After scanning, use the remote to select and manage channels. You can hide unwanted channels or mark favorites for quick access. Ensure your antenna or cable connection is stable for optimal signal strength. This process ensures you only view available channels, enhancing your overall entertainment experience with minimal effort required.
7.2 Managing Channel Listings
After scanning, manage your channel listings by hiding unwanted channels or setting favorites. Use the remote to select and organize channels, ensuring easy access to preferred options; You can also label channels for clarity and customize the order for seamless navigation. This feature helps streamline your viewing experience, making it simple to find and enjoy your favorite programs efficiently.
Parental Controls
Set up parental controls to manage access to channels and content, ensuring a safe viewing environment for all family members with customizable restrictions and password protection.
8.1 Setting Up Parental Controls
To set up parental controls, access the TV menu and navigate to the Parental Controls section. Enable controls and set a password to restrict access. Use the V-Chip technology to block channels based on ratings. Customize settings to limit content and ensure a safe viewing environment. Save changes to secure your preferences and prevent unauthorized access to restricted content.
8.2 Configuring Access Restrictions
Configure access restrictions by setting parental control levels. Block specific channels or programs based on ratings. Hide channels from the menu to prevent unauthorized access. Use the password to restrict changes to these settings. Adjust control levels to customize content access. Ensure all restrictions are saved to maintain security and prevent bypassing of parental controls effectively.

Using the Remote Control
Use the remote to navigate menus, adjust settings, and control playback. Install batteries correctly and aim the remote at the TV’s sensor for optimal functionality.
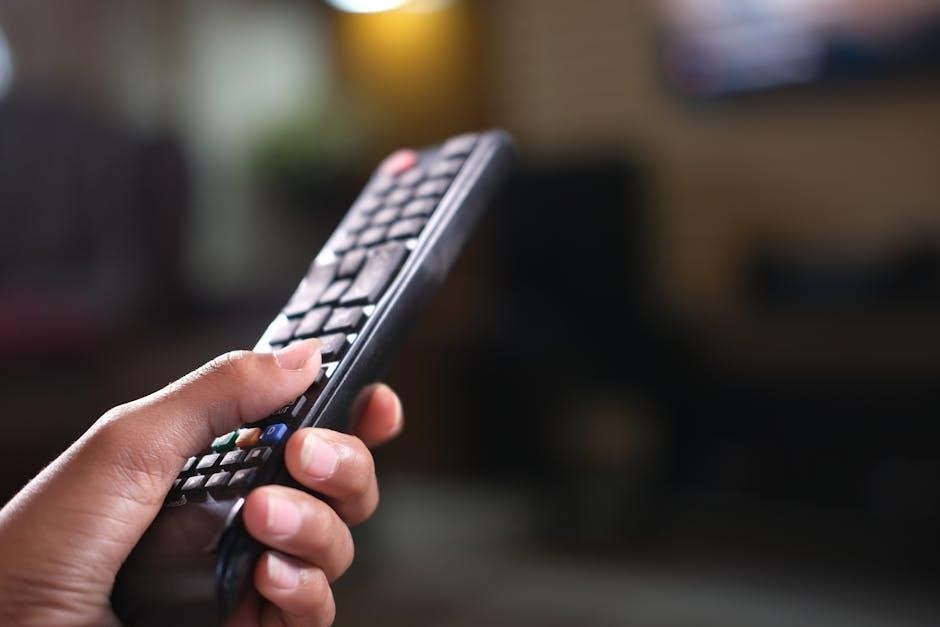
9.1 Remote Control Functions
The remote control allows you to navigate menus, adjust volume, change channels, and access settings. Use it to power the TV on/off, select input sources, and control playback. Ensure batteries are installed correctly for optimal performance. Aim the remote at the TV’s sensor for reliable operation. This essential tool enhances your viewing experience with ease and convenience.
9.2 Programming the Remote
Programming the remote allows it to control external devices. Press and hold the “Setup” button until the light blinks. Enter the device’s code using the number pad. Test functionality by adjusting volume or changing channels. If unsuccessful, try a different code. Refer to the manual for a list of compatible codes and troubleshooting tips for seamless device integration and control.

Troubleshooting Common Issues
Identify and resolve common issues like picture or sound problems. Check connections, restart the TV, and ensure proper settings. Refer to the manual for detailed solutions.
10.1 Diagnosing Picture Problems
Check for loose connections and ensure cables are securely plugged in. Verify the correct input is selected. Adjust picture settings like brightness and contrast. Reset the TV to default settings if issues persist. Consult the manual for specific troubleshooting steps tailored to your Dynex TV model, ensuring optimal picture quality and resolving common issues effectively.
10.2 Resolving Sound Issues
Check the volume settings and ensure mute is off. Verify the correct audio input is selected. Test external devices like soundbars or speakers. Reset audio settings to default. If issues persist, restart the TV or consult the manual for specific troubleshooting steps tailored to your Dynex TV model, ensuring clear and optimal audio performance.

Maintenance and Cleaning
Regularly clean the screen with a dry cloth to prevent dust buildup. Avoid harsh chemicals to maintain picture quality. Follow routine maintenance tips for optimal performance.
11.1 Cleaning the TV Screen
Regularly clean the TV screen with a soft, dry cloth to remove dust and fingerprints. Avoid using liquids or harsh chemicals, as they may damage the screen coating. For stubborn smudges, lightly dampen a microfiber cloth with distilled water, but ensure it’s thoroughly dry before wiping. Never spray liquids directly on the screen to prevent damage. Always follow the manual’s cleaning guidelines to maintain optimal picture quality and protect your Dynex TV’s display.
11.2 Routine Maintenance Tips
Regular maintenance ensures your Dynex TV performs optimally. Update firmware for the latest features and security. Ensure proper ventilation to prevent overheating. Check connections for secure cables and inspect for damage. Power cycle the TV monthly to clear cached data. Use a surge protector for electrical protection. Register your product for warranty coverage and support, ensuring access to exclusive updates and assistance. Maintain these habits for long-term reliability and performance.
Warranty and Customer Support
Dynex TVs come with a one-year limited warranty covering parts and labor. For support, contact Dynex via phone, email, or online chat. Visit their website for troubleshooting guides, manuals, and repair options. Registered users gain access to exclusive updates and assistance, ensuring your TV investment is protected and supported.
12.1 Understanding the Warranty
Dynex TVs are backed by a one-year limited warranty covering parts and labor. The warranty applies to original purchasers and requires product registration. It protects against manufacturing defects under normal use. Exclusions include damage from misuse, alterations, or normal wear and tear. For details, refer to the manual or contact customer support.
12.2 Contacting Customer Support
For assistance, contact Dynex customer support via phone, email, or live chat. Visit their official website for contact details and operating hours. Support is available for troubleshooting, warranty inquiries, and technical guidance. Ensure to have your TV model number ready for efficient service. Online resources, including manuals and FAQs, are also accessible for self-help solutions.