Rabbit sewing patterns offer a delightful way to create adorable plush toys or decorative items. With free PDF options‚ these patterns are perfect for beginners‚ requiring fabric‚ ribbon‚ and polyfil to bring charming bunnies to life‚ ideal for gifts or DIY projects.
Overview of Free Rabbit Sewing Patterns
Free rabbit sewing patterns are a delightful way to create charming plush toys or decorative items. These patterns are often simple and perfect for beginners‚ requiring minimal materials like fabric‚ ribbon‚ and polyfil. Many designs are specifically crafted for Easter or as adorable gifts‚ offering step-by-step instructions and printable templates. Some patterns allow for customization‚ such as adding floppy ears or embroidery details. They’re ideal for using scrap fabric‚ making them eco-friendly and budget-friendly. Whether you’re sewing for kids or as a DIY project‚ these patterns provide a fun and rewarding experience for sewists of all skill levels.
Where to Find Free Rabbit Sewing Patterns
Discover free rabbit sewing patterns on websites like MindyMakes‚ SewModernKids‚ and Studio Seren. These platforms offer downloadable PDFs‚ perfect for beginners and DIY enthusiasts alike.
Popular Websites and Resources
Several websites offer free rabbit sewing patterns‚ making it easy to find the perfect design. MindyMakes provides a wide range of patterns‚ including the popular Bunny Plush PDF‚ which is simple for beginners. SewModernKids and Studio Seren also offer free downloadable templates with step-by-step instructions. These resources are ideal for crafting personalized gifts or practicing sewing skills. Many patterns are designed for scrap fabric‚ making them budget-friendly and eco-conscious. Whether you’re a novice or an experienced sewer‚ these websites offer everything needed to create adorable rabbit-themed projects.
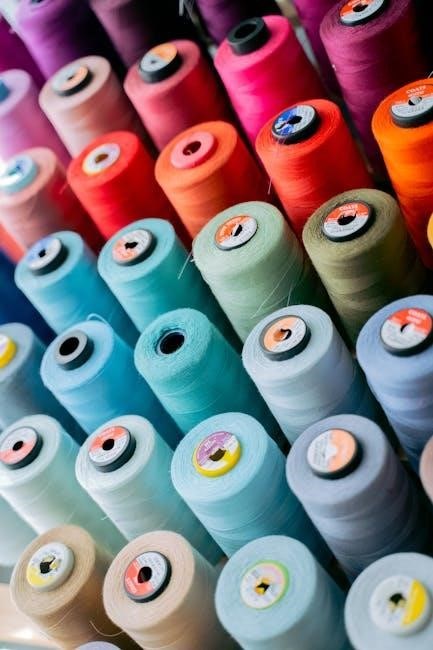
Materials and Tools Needed
Fabric‚ contrasting fabric for ears‚ ribbon‚ and polyfil are essential. Basic sewing tools like scissors‚ pins‚ and a sewing machine are also required for the project.
Fabric‚ Ribbon‚ and Polyfil Requirements
Fabric is the primary material for the bunny’s body‚ with options like cotton‚ fleece‚ or felt. Contrasting fabric adds detail to ears and faces. Ribbon is used for embellishments or closures. Polyfil stuffing ensures the bunny is soft and cuddly. Scrap fabric can be repurposed for a sustainable project. The pattern may specify fabric types or weights‚ but most are flexible. Polyfil quantity depends on desired firmness‚ ensuring even distribution for a professional finish. Choose materials that complement the pattern’s design for a personalized touch‚ making each bunny unique and special.

Printing the Pattern
Print the rabbit sewing pattern on Letter (8.5 x 11) or A4 paper. Ensure the pattern is correctly scaled‚ enlarging if needed to achieve the desired size.
Letter Size (8.5 x 11) or A4 Paper
Print your rabbit sewing pattern on standard Letter (8.5 x 11) or A4 paper for convenience. Ensure the printer settings match the paper size to maintain accuracy. If enlarging the pattern for a larger bunny‚ use scaling options. Always verify the printed size against the pattern’s guidelines. Proper scaling ensures all pieces fit together seamlessly. Most free PDF patterns are designed for these sizes‚ making it easy to achieve professional results without specialized paper. This step is crucial for a precise fit and a successful sewing project.
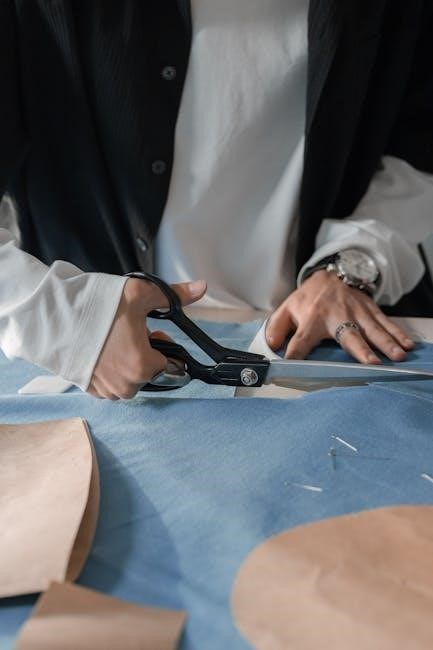
Cutting Out the Pieces
Carefully cut out body‚ arm‚ leg‚ and ear pieces from fabric. Use contrasting material for inner ears. Ensure dotted lines remain open for sewing accuracy later.
Body‚ Arm‚ Leg‚ and Ear Pieces
Begin by tracing and cutting out the essential components: 2 body pieces‚ 4 arm pieces‚ 4 leg pieces‚ and 2 outer and inner ear pieces. Use contrasting fabric for the inner ears to create a distinctive look. Ensure all dotted lines on the pattern pieces remain open during cutting‚ as these will serve as guides for sewing. Accurately cut along the edges to maintain the shape and proportions of each piece. This step is crucial for achieving a cohesive and professional finish. Use sharp scissors or rotary cutters for clean cuts‚ especially when working with intricate ear details.
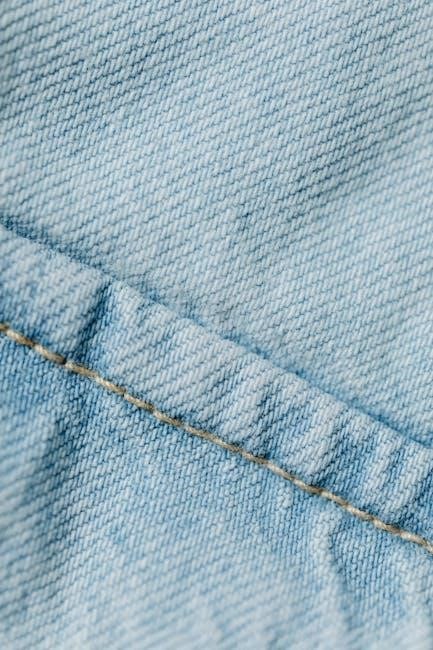
Sewing the Body
Place body pieces together‚ aligning edges. Sew around the perimeter with a 1/4-inch seam allowance‚ leaving a small opening. Turn right side out and press seams for a crisp finish.
Step-by-Step Instructions for Beginners
Start by cutting out body‚ arm‚ leg‚ and ear pieces according to the pattern. Place two body pieces together‚ aligning edges. Sew around the sides‚ leaving a small opening for turning; Use a 1/4-inch seam allowance and backstitch at the start and end. Carefully turn the body right side out‚ ensuring seams are pressed flat. Stuff the body firmly with polyfil through the opening‚ then hand-sew the gap closed. This simple process creates a soft‚ cuddly base for your bunny‚ ready for attaching limbs and adding details like eyes and ears.
Sewing the Arms and Legs
Cut four arm and four leg pieces. Sew pairs together‚ leaving a small opening. Turn right side out‚ press seams‚ and stuff lightly before attaching to the body.
Attaching Limbs to the Body
Once the arms and legs are sewn and stuffed‚ position them on the body according to the pattern markings. Pin each limb securely‚ ensuring alignment with the body seams. Sew the limbs to the body using a 1/4-inch seam allowance‚ leaving the body’s opening untouched for turning. After sewing‚ trim excess fabric carefully. For thicker fabrics‚ consider using clips to hold the pieces in place while sewing. This step ensures the bunny’s arms and legs are securely attached‚ creating a cuddly and durable finish. Proper alignment and precise stitching are key for a professional look.
Adding Details
Add personality with embroidered eyes‚ whiskers‚ or fabric paint for a face. Ears can be stiffened with interfacing‚ and small ribbons or bows enhance charm‚ making each bunny unique.
Eyes‚ Ears‚ and Embellishments
Enhance your bunny with expressive eyes using buttons‚ felt‚ or embroidery floss. Ears can be crafted from contrasting fabric for a pop of color. Add embellishments like ribbons or bows for a personalized touch. Use fabric paint or markers for whiskers and noses. For a more rustic look‚ embroidery floss can create stitching details. Ensure eyes are securely attached with glue or stitching. Ears can be stiffened with interfacing for structure. These small details bring personality to your bunny‚ making it truly unique and charming. Perfect for beginners‚ these steps add character without complexity.
Stuffing the Bunny
Stuffing the bunny requires high-quality Polyfil for a soft‚ even texture. Fill firmly but gently to maintain shape‚ ensuring no lumps form for a professional finish.
Tips for Even Distribution
To achieve a balanced and fluffy bunny‚ start by stuffing small sections at a time‚ ensuring even distribution. Use a tool like a chopstick to push Polyfil into arms‚ legs‚ and ears. Gently fluff the stuffing to eliminate lumps. Avoid overstuffing‚ as it can make the bunny stiff. Work methodically‚ filling the body first‚ then limbs‚ and finally the ears. Regularly check the shape to maintain symmetry. This approach ensures a soft‚ cuddly texture and a professional finish‚ making your handmade bunny both adorable and huggable.
Completing the Bunny
Once stuffed‚ close the opening securely with a whipstitch. Add final details like eyes or embroidery. Ensure all seams are tight for a professional finish and durability.
Final Assembly and Closure
After stuffing‚ carefully hand-stitch the opening using a whipstitch or ladder stitch. Ensure the seam is secure to prevent stuffing from escaping. Turn the bunny right side out and fluff the polyfil for an even distribution. For a polished look‚ tuck the seams inward before stitching. Once closed‚ gently shape the bunny to ensure a natural appearance. Add any final embellishments‚ such as embroidery for eyes or attaching ears. Double-check all seams for tightness to ensure durability. Your adorable handmade bunny is now complete and ready for gifting or display!
Tips for Beginners
Start with simple patterns‚ use scrap fabric‚ and follow step-by-step instructions. Choose high-quality materials for a professional finish. Practice stitching curves and turning pieces right side out.
Common Mistakes to Avoid
- Not leaving dotted lines open during sewing‚ causing seams to close prematurely.
- Using the wrong fabric type‚ which can make the bunny too stiff or misshapen.
- Overstuffing‚ leading to a bulky appearance and difficulty in closing seams.
- Ignoring pattern instructions‚ especially for beginners‚ which can result in uneven stitching or misplaced limbs.
- Forgetting to backstitch at the beginning and end of seams to secure them.
- Not aligning fabric pieces properly before sewing‚ causing mismatched parts.
- Rushing through curves or tight spaces‚ leading to puckering or uneven edges.